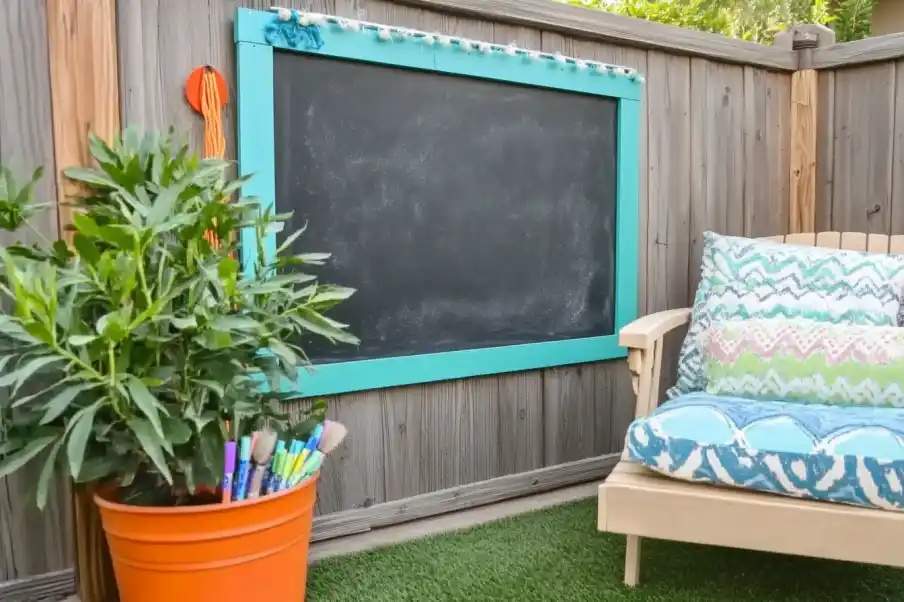
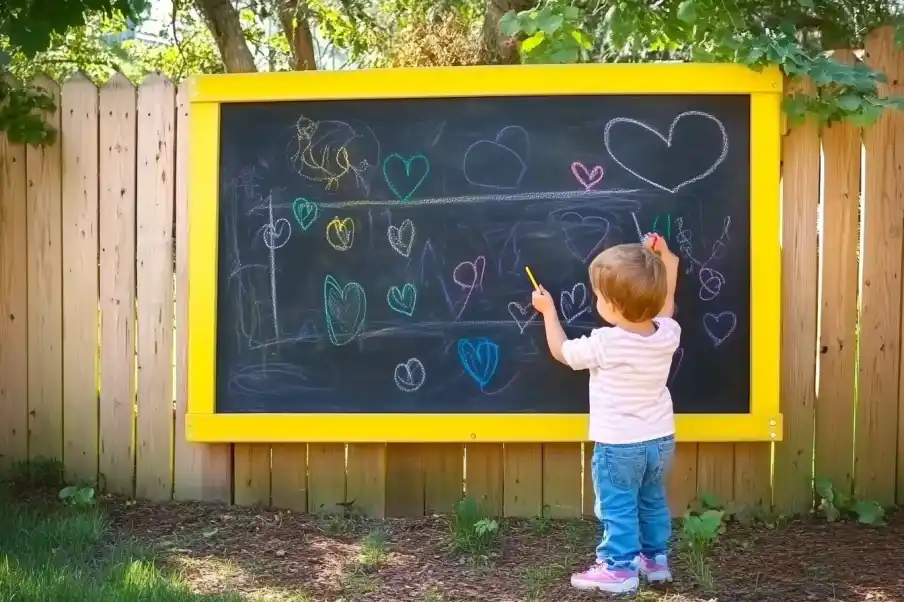
A giant outdoor chalkboard is a fun and functional addition to any yard, providing endless possibilities for family fun, creative expression, and learning. Whether used for drawing, writing, or even planning events, an outdoor chalkboard is a great DIY project that’s easy to make and enjoyable for everyone. Here’s a detailed guide on how to make a giant outdoor chalkboard, from materials and step-by-step instructions to tips for maintaining it outdoors.
1. Materials Needed
Gathering the right materials will ensure your outdoor chalkboard is durable, functional, and weather-resistant.
Essential Materials
- Backer Board (such as cement board or plywood): Serves as the main surface of the chalkboard. Cement board is more weather-resistant than plywood, making it a good choice for outdoor use.
- Chalkboard Paint: Available in spray or paint-on versions. Be sure to choose an outdoor-friendly variety.
- Screws and Anchors: For securing the chalkboard to a wall or fence.
- Outdoor-Grade Wood (for the frame): Use treated wood for the frame to withstand weather conditions.
Optional Items for Added Durability and Decoration
- Waterproof Sealant: Adds extra protection to the backer board, ensuring the board lasts through various weather conditions.
- Decorative Frame: Adds a polished, finished look to your chalkboard.
- Hooks for Chalk Storage: Perfect for attaching below the chalkboard to keep chalk and erasers organized.
With these materials ready, you’re set to start building your outdoor chalkboard.

2. Step-by-Step Guide to Building Your Giant Outdoor Chalkboard
Step 1: Cut and Prepare the Backer Board
- Measure the Area: Decide where you’ll place the chalkboard and measure the space. Cut the backer board to fit within those dimensions.
- Smooth the Edges: Sand down any rough edges to prevent splinters and make handling safer.
Step 2: Create and Attach the Back Frame
Constructing a frame on the back of the board adds support, helping prevent warping and adding durability.
- Cut Wood for the Frame: Measure and cut pieces of outdoor-grade wood to fit the edges of the board.
- Attach the Frame: Using outdoor screws, attach the wood to the back of the board, creating a sturdy frame.
Step 3: Apply Chalkboard Paint
Chalkboard paint is the key to transforming your board into a functional, writable surface.
- Apply the First Coat: Use a paintbrush or roller to evenly cover the entire surface with chalkboard paint. Allow it to dry completely.
- Add Additional Coats: Apply 2-3 more coats, allowing each layer to dry fully before applying the next. This will ensure a solid, even surface for writing.
Step 4: Add the Front Frame
Adding a frame to the front not only gives the chalkboard a professional, finished look but also protects the edges from weather exposure.
- Measure and Cut the Front Frame: Using treated wood, cut pieces to fit the edges of the chalkboard.
- Attach the Frame: Secure the frame to the edges with outdoor screws, ensuring the frame is flush with the chalkboard surface.
Step 5: Install the Chalkboard on a Fence or Wall
Once your chalkboard is complete, it’s time to hang it up.
- Choose the Right Location: Ideally, choose a fence or wall that is shielded from direct exposure to rain and intense sunlight.
- Attach with Screws and Anchors: Use appropriate screws and wall anchors to secure the board, ensuring it’s firmly in place.
Step 6: Optional – Add Hooks for Chalk Storage
To keep chalk and erasers handy, consider adding hooks below the chalkboard.
- Install Hooks: Attach small hooks to the bottom of the frame or to the wall below. You can even hang a small container for chalk storage.
For more creative DIY outdoor projects, check out how to build a rolling pipe slide to add more fun elements to your yard.

3. How to Season Your Outdoor Chalkboard
Once your chalkboard is set up, the next step is to season it. Seasoning prevents “ghosting,” or leftover chalk marks that don’t fully erase, helping keep your board looking fresh.
Why Seasoning is Essential
Seasoning fills in the small pores in the chalkboard paint, making it easier to erase chalk marks without leaving faint outlines.
Quick Guide to Seasoning the Chalkboard
- Cover the Surface with Chalk: Rub the side of a piece of chalk across the entire chalkboard surface.
- Erase Thoroughly: Use a cloth or eraser to remove the chalk completely, which will create a smooth, erasable surface for future use.
This quick step helps ensure your board is ready for writing and drawing without any ghosting issues.
4. Tips for Maintenance and Weatherproofing
To keep your outdoor chalkboard looking its best, follow these maintenance tips to protect it from the elements.
Weatherproofing Your Chalkboard
- Apply a Waterproof Sealant: Coat the back of the board and frame with a waterproof sealant, which will help repel water and prevent warping.
- Choose a Sheltered Location: Placing the board in a shaded area or under an awning can help reduce sun damage and protect it from direct rain exposure.
Repainting or Resealing as Needed
Over time, your chalkboard may require touch-ups:
- Reapply Chalkboard Paint: If the surface becomes too worn, clean it thoroughly and add a fresh coat of chalkboard paint.
- Re-seal the Frame: If you notice signs of wear on the frame, apply another layer of sealant to maintain its durability.
For more detailed guidance on weatherproofing outdoor chalkboards, you can refer to this tutorial on creating and maintaining an outdoor chalkboard.
Frequently Asked Questions
1. Can you leave the chalkboard outside all year?
Yes, you can leave your chalkboard outside if it’s weatherproofed properly. Be sure to use waterproof sealants, choose durable materials, and select a location that minimizes direct exposure to rain and sunlight.
2. Is chalkboard paint waterproof?
Most chalkboard paints are not waterproof. To make it weather-resistant, apply a protective sealant on the backer board and frame or use chalkboard paint specifically designed for outdoor use.
3. What’s the purpose of the frame on the back?
A frame on the back of the board adds support and stability, helping to prevent warping. This frame is especially important for larger boards and boards exposed to weather changes.
4. How much does it cost to make a giant outdoor chalkboard?
The cost will vary depending on materials, but a DIY outdoor chalkboard can typically be made for under $50-$100. Using durable outdoor-grade materials and weatherproof sealant will help protect your investment over time.
Conclusion
A giant outdoor chalkboard is a fun, customizable project that adds both beauty and function to your backyard. By following these steps, you’ll create a unique play area for children or a space for creative and educational activities that family and friends will enjoy. With a bit of personalization, you can design a chalkboard that complements your outdoor space and lasts for years to come. Happy DIY-ing!

