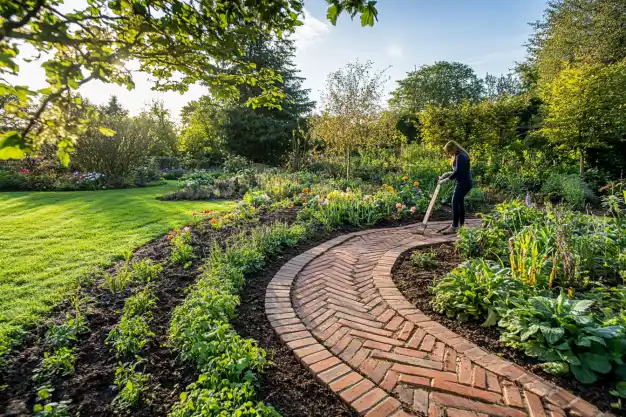
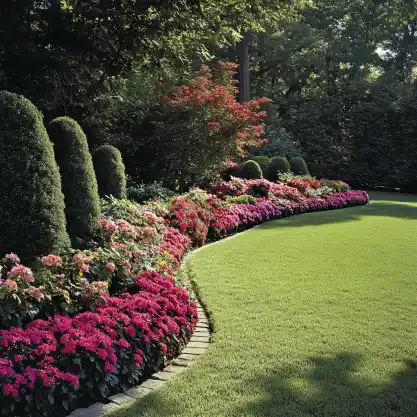
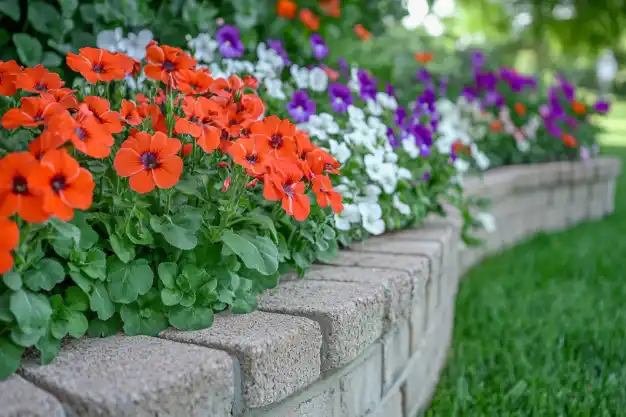
Creating a brick edge for your garden adds charm, durability, and structure to your landscape. Brick garden edging is not only practical but enhances the look of your garden, giving it a polished, classic appearance. In this guide, we’ll cover the entire process—from preparation to maintenance—so you can enjoy a professional-looking garden border that lasts for years.

1. Why Choose Brick Edging for Your Garden?
Adding brick edging to your garden has numerous benefits beyond its visual appeal. Bricks are durable, weather-resistant, and low-maintenance, making them an ideal choice for creating a long-lasting border. Gardeners often choose brick borders for their timeless look, durability, and the way they help define and separate garden areas.
Brick edging can also improve the functionality of your garden by helping to prevent soil erosion, keeping mulch in place, and discouraging weeds from spreading. For more insights on garden enhancements, visit Kamala’s Garden.
2. Project Overview
Before you begin, it’s essential to consider the time, cost, and skill level involved.
- Skill Level: Beginner to Intermediate
- Cost Estimate: This project can vary, but expect costs for materials such as bricks, sand, and tools.
- Estimated Time: With preparation and installation, it typically takes a weekend to complete.
3. Tools and Materials Needed
Tools
Gather the following tools for easy and efficient installation:
- Shovel
- Level
- Rubber mallet
- Tamper or hand tamper
- Measuring tape
- Garden hose or rope (for curved edges)
Materials
For a durable and visually appealing border, you’ll need:
- Bricks (enough to cover your measured garden edge)
- Sand or gravel for the base
- Landscaping fabric to help prevent weeds

4. Preparation Steps
Step 1: Plan Your Design
Choose whether you want a straight or curved border. A straight edge provides a structured look, while curves add a softer, more organic touch to your garden. Use a garden hose or rope to outline the edge and visualize how it will look.
- Measuring: Measure the garden edge carefully to determine how many bricks you’ll need.
Step 2: Order and Gather Materials
- Select Your Bricks: Choose durable bricks that match your garden’s style. Concrete pavers are an affordable option, but traditional red bricks provide a classic look.
- Calculate Quantity: Ensure you have enough bricks by calculating based on your measurements, accounting for any extra for mistakes or repairs.
For tips on selecting the right types of bricks, check out The Spruce’s guide to garden edging with bricks.
5. Step-by-Step Guide to Installing Brick Edging
Step 3: Lay Out the Bricks Along the Edge
Dry-lay the bricks along your marked border. This helps you check the spacing and make any necessary adjustments before digging. It’s especially useful if you’re creating curves, as it ensures a proper fit and look.
Step 4: Dig the Trench
Using your shovel, dig a trench that matches the width and depth of your bricks. Generally, aim for a depth of about 3-4 inches, allowing room for the base layer.
- Tip: Use a level to ensure your trench is even across its length.
Step 5: Add the Base Layer
For stability, add a layer of sand or gravel to the trench. This layer will help with drainage and keep the bricks from shifting over time. Use a tamper to compact the base evenly.
Step 6: Position the Bricks
Place each brick carefully in the trench, starting from one end and working your way down. Tap each brick gently with a rubber mallet to ensure they’re snugly in place. Use a level frequently to keep the bricks aligned.
Step 7: Fill in the Gaps and Backfill
Add sand between the bricks for stability, then backfill the edges with soil to hold everything in place. This will create a neat finish and prevent the bricks from shifting. For curved edges, take extra care to keep spacing consistent.
6. Finishing Touches
Step 8: Rinse and Clean the Bricks
Once all bricks are in place, rinse off any excess dirt or sand. This will reveal the clean, polished look of your new border and allow you to spot any alignment issues.
Step 9: Compact and Set the Bricks
Use the tamper or gently tap along the edge with the rubber mallet to secure the bricks firmly in place. This step is essential to ensure that your border remains even and stable over time.
7. Maintenance Tips for Brick Garden Edging
To keep your brick garden edging looking its best, follow these maintenance tips:
- Regular Cleaning: Rinse dirt and debris off the bricks occasionally to keep them looking fresh.
- Weed Control: Use landscaping fabric beneath the bricks and a layer of sand between them to discourage weed growth.
- Leveling: Over time, bricks may settle. Regularly inspect your border and reset any bricks that shift to maintain a neat appearance.
For further maintenance tips, check out resources on Kamala’s Garden.

Frequently Asked Questions
1. What type of bricks work best for garden edging?
Traditional clay bricks and concrete pavers are both popular choices. Choose durable, outdoor-rated bricks to ensure they withstand the elements.
2. How deep should the trench be for brick edging?
Aim for a trench depth of around 3–4 inches to allow room for a base layer of sand or gravel and proper support for the bricks.
3. Can I install a brick edge on a slope?
Yes, it’s possible to install brick edging on a slight slope. Dig the trench so that the bricks remain level along the slope, and use extra base material if needed for support.

