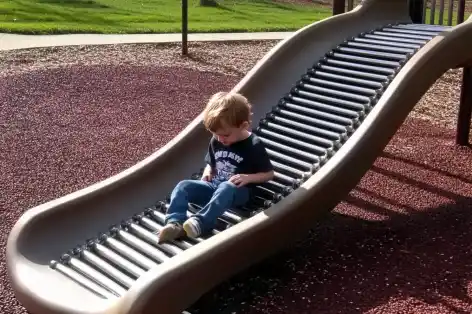
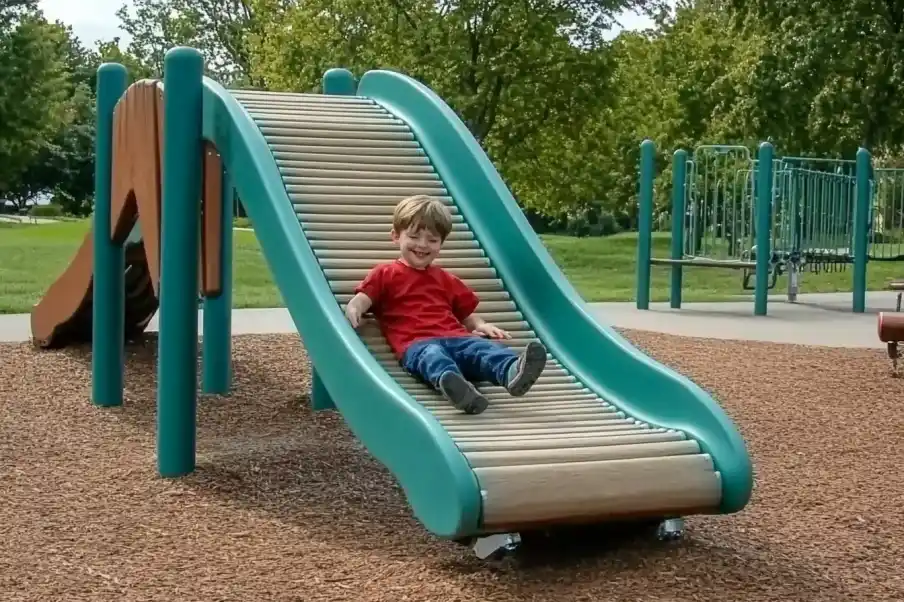
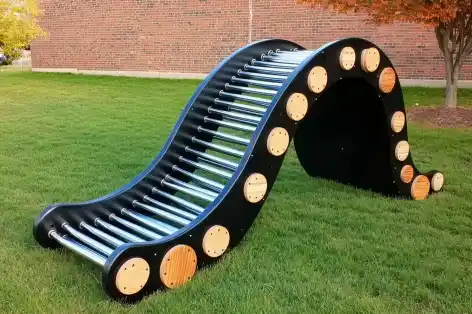
Building a rolling pipe slide is a fantastic DIY project that adds excitement and fun to any backyard. This unique slide design provides kids with an engaging play experience, encouraging active outdoor play while helping to develop coordination and motor skills. In this guide, we’ll cover everything you need to know to build a rolling pipe slide, from materials and tools to step-by-step instructions, safety tips, and maintenance.
1. Materials and Tools Needed
Before diving into construction, gather all the necessary materials and tools to ensure a smooth build.
Essential Materials
- PVC Pipes (4-6 inches in diameter): For the rolling pipes along the slide, choose strong and durable pipes to withstand regular use.
- Wooden Boards (for the frame): Opt for weather-resistant wood like treated lumber for outdoor durability.
- Screws and Bolts: Ensure these are outdoor-grade and rust-resistant to secure the frame and pipes.
- Metal or Plastic Brackets: These will help hold the pipes in place on the frame.
Tools You’ll Need
- Drill: For assembling the frame and attaching the pipes securely.
- Saw: To cut the PVC pipes and wooden boards to the desired size.
- Measuring Tape: For accurate measurements of the slide area and materials.
- Level: To ensure everything is aligned and balanced.
- Screwdriver: For fastening screws and bolts.
With these materials and tools in hand, you’re ready to start building.

2. Step-by-Step Instructions for Building a Rolling Pipe Slide
Step 1: Plan and Measure the Slide Area
Choose a suitable area in your yard for the slide, ideally on level ground with plenty of space around it for safe play. Measure the length and width of the area to determine how long and wide you want the slide to be.
- Tip: Consider placing the slide on a soft surface like grass, sand, or mulch for added safety.
Step 2: Cut and Prepare the Pipes
Using the saw, cut the PVC pipes to the length you want for each roller. The pipes should be uniform in length, matching the slide’s total width to create an even surface.
- Sanding the Edges: After cutting, sand the edges of each pipe to smooth out any rough spots, reducing the risk of scrapes or cuts.
Step 3: Assemble the Frame
Construct a sturdy frame that will support the rolling pipes. Here’s how:
- Measure and Cut the Frame Pieces: Using the wooden boards, cut two side supports and as many crossbeams as needed to secure the pipes.
- Assemble the Frame: Attach the crossbeams to the side supports using screws and brackets, spacing them evenly along the length of the slide.
- Check Stability: Ensure the frame is stable and level before moving to the next step.
Step 4: Attach the Rolling Pipes
With the frame assembled, it’s time to add the rolling pipes.
- Place Pipes in the Frame: Lay each pipe between the crossbeams, ensuring they are positioned closely together to create a smooth rolling surface.
- Secure Pipes with Brackets: Use metal or plastic brackets to fasten each end of the pipes to the crossbeams, allowing them to rotate freely without shifting out of place.
Step 5: Secure the Slide and Test for Stability
Once the pipes are in place, do a final check for stability and safety.
- Test Rolling Motion: Check that each pipe rotates smoothly and that there are no gaps where fingers could get pinched.
- Stabilize the Frame: Anchor the frame to the ground if necessary, especially if your yard has a slight slope. Test the slide’s durability and motion by giving it a trial run before allowing children to use it.
For more affordable DIY yard projects that bring fun to outdoor spaces, take a look at these budget-friendly yard ideas.

3. Safety Tips and Precautions
Safety should be a top priority when building any backyard play equipment. Here are some precautions to ensure the slide is as safe as it is fun:
- Choose a Safe Location: Avoid placing the slide near obstacles like trees, rocks, or other hard surfaces. A soft landing surface, such as grass or rubber mulch, can reduce injuries from falls.
- Check for Pinch Points: Ensure the pipes roll smoothly and are spaced close enough to prevent small hands or feet from getting caught.
- Use Weather-Resistant Materials: Treated wood and rust-resistant screws will help protect the slide from weather damage, making it safer and more durable.
- Regularly Inspect for Loose Parts: Conduct routine checks to make sure screws and brackets are secure, especially after heavy use or extreme weather.
For further inspiration on building a rolling pipe slide, you can check out this project guide.
4. Maintenance and Inspection Tips
To keep the rolling pipe slide safe and in top condition, regular maintenance is essential. Here’s how to care for it:
- Weekly Inspections: Look for any loose screws, worn-out brackets, or signs of damage on the pipes and frame.
- Cleaning: Periodically clean the pipes and frame with mild soap and water to remove dirt and debris. Avoid using harsh chemicals, as they may damage the materials.
- Weather Protection: If you live in an area with extreme weather, consider covering the slide or storing it indoors during off-seasons. This will extend its lifespan and reduce maintenance.
By performing these simple upkeep steps, you can ensure the slide remains safe and functional year-round.
5. Educational Benefits of a Rolling Pipe Slide
Aside from being a source of fun, a rolling pipe slide offers numerous developmental benefits for children.
Motor Skills and Coordination
The unique rolling motion of the slide challenges kids to maintain balance and stability, helping develop their gross motor skills. Climbing onto and navigating the slide also improves coordination, building their physical abilities in an enjoyable way.
Cognitive and Social Benefits
Engaging with playground equipment like a rolling pipe slide encourages children to explore, take safe risks, and build confidence. It can also promote social skills as kids interact, share, and take turns using the slide, making it a valuable addition to any backyard play space.
FAQs About Rolling Pipe Slides
1. How difficult is it to build a rolling pipe slide?
Building a rolling pipe slide requires basic DIY skills, such as measuring, cutting, and drilling. With the right tools and materials, most people can complete the project over a weekend.
2. What age range is appropriate for a rolling pipe slide?
A rolling pipe slide is typically suitable for kids ages 5 and up. Always supervise young children and ensure they understand safe play techniques before using the slide.
3. How much space is needed for a rolling pipe slide?
You’ll need an area that’s at least 10 feet long and a few feet wider than the slide frame to allow for safe entry and exit. A soft surface around the slide also improves safety.
4. Can I leave the slide outside year-round?
If the slide is built with weather-resistant materials, it can be left outside. However, covering it during extreme weather or winter months can help prolong its lifespan.
Conclusion
Building a rolling pipe slide is a fun and rewarding DIY project that creates a unique play experience in your backyard. With proper planning, safe construction, and regular maintenance, you can provide children with hours of enjoyment while enhancing their physical skills. So, gather your materials, follow these steps, and create an exciting, safe outdoor play area that your family will love!

