Building a playhouse is a fantastic way to create a magical space for kids, encouraging outdoor play, creativity, and adventure. With a DIY approach, you can customize the design, keep costs low, and enjoy the satisfaction of a hands-on project. Here are four free playhouse plans that are easy to follow, affordable, and guaranteed to create excitement in any backyard.
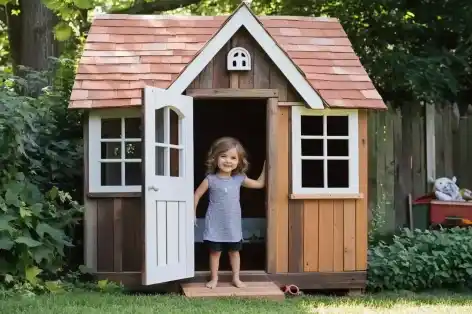
1. The Simple Wooden Playhouse
A classic wooden playhouse is an ideal project for beginners and offers endless possibilities for customization. This design is a basic structure with walls, a roof, and a door, which you can personalize with paint or decorations.
Materials Needed
- Wooden Boards: Use treated wood for durability outdoors.
- Plywood Sheets: For the walls and roof.
- Screws and Nails: Outdoor-grade for weather resistance.
- Hinges and Latch: For the door.
Key Steps for Building
- Create the Base and Floor: Start by constructing a sturdy wooden frame and attaching plywood sheets for the floor.
- Build the Walls: Attach plywood sheets to the frame and add cutouts for doors and windows.
- Assemble the Roof: Use angled wooden boards to create a sloped roof and cover it with plywood or corrugated plastic.
- Attach the Door: Use hinges to attach a simple wooden door, adding a latch for easy access.
Customizing with Paint and Décor
A basic wooden playhouse is like a blank canvas. Paint it in bright colors, add a decorative mailbox, or hang flower baskets from the windows. For more creative outdoor projects, check out how to make a giant outdoor chalkboard to complement your playhouse.

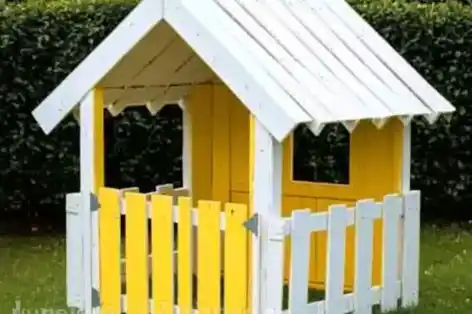
2. The Pallet Playhouse
If you’re looking for an eco-friendly and budget-conscious option, a pallet playhouse is the way to go. Using repurposed pallets is sustainable and gives the playhouse a rustic, charming look.
Materials Needed
- Wooden Pallets: About 6-8 pallets, depending on the size.
- Screws and Brackets: For securing the pallets.
- Plywood or Pallet Wood: For the roof and finishing touches.
Step-by-Step Construction
- Prepare the Pallets: Sand each pallet to remove rough edges.
- Assemble the Walls: Attach pallets vertically to create the walls. Secure each pallet with screws and brackets for stability.
- Build the Roof: Use additional pallet wood or plywood to create a flat or slanted roof.
- Finish the Floor and Details: Add a plywood floor and optional features like windows or a small door.
Creative Additions
A pallet playhouse is easy to customize. Add a small chalkboard wall, install a flower box, or attach a solar light for evening playtime. You can also add a fun DIY feature by learning to build a rolling pipe slide for your backyard.

3. The Cottage Hideaway
The cottage-style playhouse is perfect for a cozy, storybook vibe. With small windows, a charming porch, and decorative touches, this playhouse offers a whimsical retreat for children.
Materials Needed
- Treated Lumber: For the frame and structure.
- Plywood: For walls and roofing.
- Decorative Elements: Curtains, flower boxes, or a mini porch railing.
Assembly Tips
- Build the Frame and Floor: Construct a sturdy frame using treated lumber, and add a plywood floor for stability.
- Add Walls and Windows: Attach plywood sheets for walls, then cut out spaces for windows and the door.
- Assemble the Roof and Porch: Use angled boards to create a sloped roof, adding plywood or shingles for durability. If desired, add a small porch with a railing.
- Finish with Details: Install a door and add trim around windows for a polished look.
Decorating Ideas
Make the playhouse feel like a true cottage by adding curtains, hanging planters, or fairy lights. A small welcome sign or a personalized plaque with the child’s name adds a sweet touch.
For additional outdoor décor ideas, explore this DIY outdoor chalkboard tutorial for extra outdoor fun.
4. The Elevated Fort Playhouse
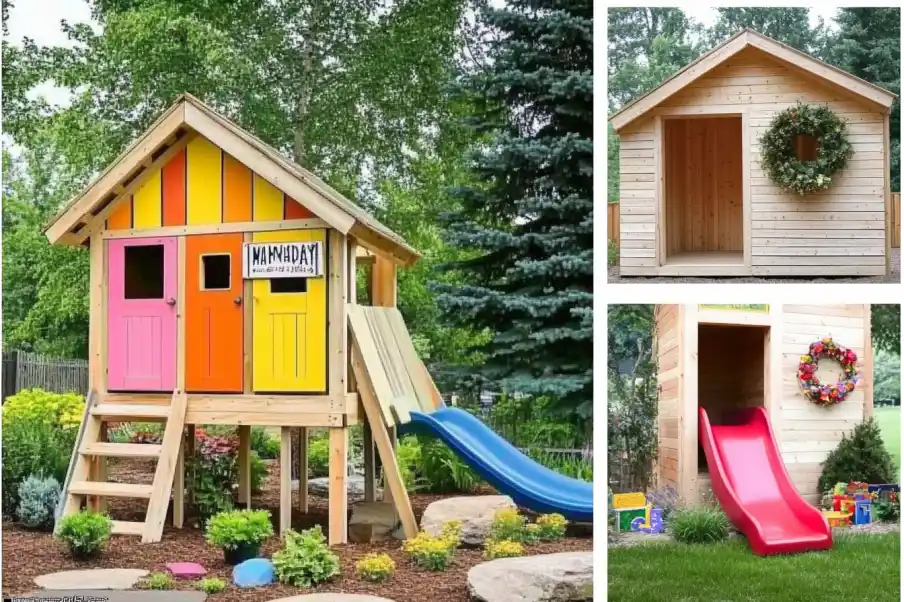
An elevated fort playhouse brings a sense of adventure with added height, perfect for kids who love climbing and exploring. This playhouse is raised off the ground, often with a ladder or slide for entry and exit.
Materials Needed
- Wooden Posts: To raise the playhouse.
- Treated Lumber and Plywood: For the floor, walls, and roof.
- Ladder, Slide, or Climbing Wall: For added play elements.
Safety Tips for Building an Elevated Playhouse
- Anchor the Posts: Use concrete or post anchors to secure the support posts, ensuring the structure is stable and secure.
- Install a Railing: Add railings on the platform for extra safety.
- Use Non-Slip Materials: For steps or ladders, use textured materials to prevent slipping.
Steps to Build
- Create the Platform: Construct a strong platform on sturdy posts, ensuring it’s level and well-anchored.
- Add the Walls and Roof: Assemble walls using plywood and frame the roof with angled boards. Cover with plywood or corrugated roofing.
- Attach Play Features: Install a ladder, slide, or small climbing wall to make entering and exiting the fort more exciting.
Fun Additions for Extra Adventure
Consider adding a telescope, pulley system, or steering wheel to create a mini adventure playground. A simple rope ladder or swing can also make the elevated fort feel like a treehouse!
Safety Tips and Considerations
While playhouses provide hours of fun, safety should be a priority. Here are some tips to ensure a safe structure:
- Use Non-Toxic Materials: Choose paints and finishes that are safe for children.
- Check for Stability: Regularly inspect the playhouse for any loose boards, screws, or brackets.
- Add Soft Ground Cover: Place the playhouse on a soft surface like grass, sand, or mulch to cushion falls.
- Install Railings: For elevated playhouses, add secure railings around the platform.
By following these precautions, you can create a safe and enjoyable play space for children.
Conclusion
These four DIY playhouse plans offer a range of styles and features to suit any backyard and child’s personality. Whether you go for a simple wooden playhouse, a rustic pallet structure, a cozy cottage, or an elevated fort, each option provides a unique play space that fosters creativity and adventure. Choose a plan that fits your yard, gather your materials, and enjoy building a playhouse that will create memories for years to come.
FAQ: DIY Playhouse Plans for Kids
1. How much does it cost to build a DIY playhouse?
The cost varies depending on materials, but many DIY playhouses can be built for under $100, especially if using repurposed materials like pallets. Larger or more elaborate designs with added features may increase the budget slightly.
2. What age range are these playhouses suitable for?
Most DIY playhouses are suitable for children ages 3 and up. Elevated playhouses with ladders or climbing features are best for slightly older children and should always include safety features like railings.
3. How long does it take to build a DIY playhouse?
Depending on the complexity of the design and your experience level, building a playhouse can take anywhere from a few hours for a simple pallet structure to a weekend for more detailed playhouses.
4. Are DIY playhouses weatherproof?
Using treated wood, non-toxic outdoor sealants, and waterproof paint can help make DIY playhouses more resistant to weather. Elevated or sheltered playhouses may need less maintenance but check for wear after extreme weather.
5. What’s the best location for a playhouse in the yard?
Choose a level area with soft ground, such as grass or mulch, to help cushion falls. Place the playhouse in a shaded spot if possible to keep it cool in summer, or consider adding a canopy or roof for sun protection.

