Starting seeds indoors is an excellent way to ensure a thriving garden when the growing season begins. Whether you’re a novice or a seasoned gardener, understanding the fundamentals can make all the difference in your success. In this guide, you’ll discover the benefits of starting seeds indoors, essential supplies, step-by-step instructions, and troubleshooting tips to help you grow healthy seedlings.
Why Start Seeds Indoors?
Faster Harvest
When you start seeds indoors, you give your plants a head start, allowing them to mature earlier. This leads to faster harvests compared to sowing seeds directly in the ground.
Better Plant Spacing
By growing seedlings indoors, you can strategically space them in your garden for optimal growth. This reduces overcrowding and ensures every plant gets the nutrients, water, and sunlight it needs.
Get a Head Start on the Growing Season
Indoor seed starting lets you beat the clock, especially in regions with short growing seasons. You can grow crops that need more time to mature without worrying about late frosts.
Avoid Weeds and Pests Early
Starting seeds indoors minimizes the risk of pests and weeds competing with your young plants. This controlled environment helps seedlings grow stronger before they face outdoor challenges.
Planning Your Seed Starting Journey

Know Your Last Frost Date
Before you begin, determine your region’s last frost date. This information helps you plan when to start specific seeds to ensure they’re ready to transplant outdoors at the right time.
Timing Your Seed Starting
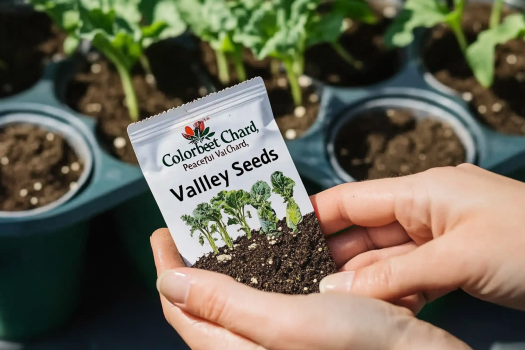
Each plant has a unique germination and growing timeline. Check seed packets for recommendations on when to start each type of seed indoors.
Organizing Your Gardening Space
Prepare a designated area for seed starting. A clean, well-lit, and temperature-controlled space is ideal. Consider using IKEA greenhouse cabinets for a stylish and practical indoor gardening setup. Learn more about IKEA greenhouse cabinet hacks.
Essential Supplies for Seed Starting
Choosing the Right Containers
Seed trays, cell packs, and repurposed containers work well for starting seeds. Ensure your containers have drainage holes to prevent waterlogging.
Best Soil Mixes for Seeds
Store-Bought vs. Homemade Mixes
Opt for a fine, lightweight seed-starting mix. Store-bought options are convenient, but you can also make your own by combining compost, coconut coir, and perlite.
Tips for Disinfecting Soil
To avoid soil-borne diseases, sterilize your mix by baking it in the oven at 180°F for 30 minutes. Allow it to cool before use.
Labels and Markers
Label your containers to keep track of different seedlings. Use waterproof markers or plant tags for durability.
Heat Mats and Lighting
Seedlings thrive in warm environments. Heat mats can provide consistent warmth, while grow lights ensure they receive adequate light, especially during shorter winter days.
Step-by-Step Guide to Starting Seeds Indoors

Preparing Your Soil Mix
Moisten your seed-starting mix until it feels damp but not soggy. This ensures seeds have the moisture they need to germinate.
Filling Containers and Making Holes
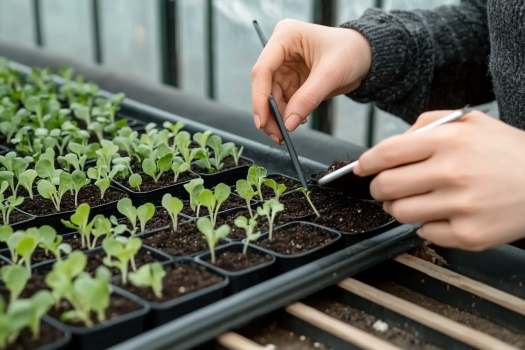
Fill your containers with the prepared soil mix, leaving a small gap at the top. Use your finger or a pencil to make holes for the seeds.
Sowing Seeds Properly
Depth and Spacing
Plant seeds at the depth recommended on the packet. As a general rule, plant seeds at a depth twice their diameter.
Covering with Soil or Vermiculite
Cover seeds with a light layer of soil or vermiculite. This helps retain moisture while allowing light to reach seeds that require it for germination.
Using a Dome or Plastic Cover
Place a plastic dome or wrap over the trays to maintain humidity and warmth. Remove the cover once seedlings emerge to prevent mold.
Placing Trays Under Lights
Position trays under grow lights, ensuring the lights are 2-4 inches above the seedlings. Adjust the height as plants grow.
Monitoring Temperature and Humidity
Maintain a temperature of 65-75°F for most seeds. Use a hygrometer to monitor humidity levels and mist soil as needed to keep it moist.
Adjusting for Heat-Loving Crops
Plants like tomatoes and peppers thrive in warmer conditions. Place these trays closer to heat mats or in a warmer part of your home.
Caring for Your Seedlings

Maintaining Proper Moisture Levels
Water seedlings gently to keep the soil consistently moist. Avoid overwatering, which can lead to root rot.
Providing Sufficient Air Circulation
Good airflow prevents fungal diseases. Use a small fan to circulate air around your seedlings.
Feeding Seedlings
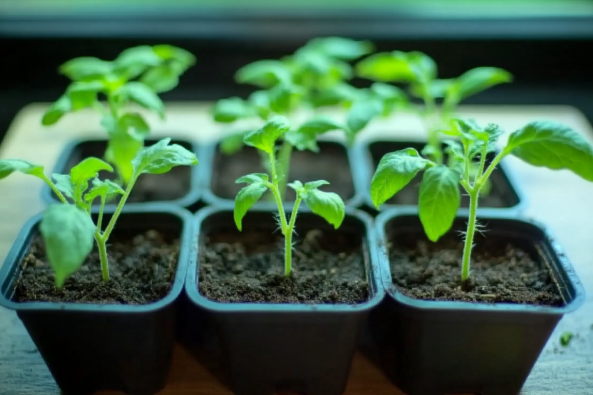
Once seedlings develop their first true leaves, feed them with a diluted liquid fertilizer every 1-2 weeks.
Potting Up as Plants Grow
As seedlings outgrow their containers, transplant them into larger pots to give roots more space.
Transitioning Seedlings to the Outdoors
Hardening Off Seedlings
Gradually expose seedlings to outdoor conditions to acclimate them. Start by placing them outside for a few hours each day, increasing exposure over a week.
When and How to Transplant
Transplant seedlings after the last frost date when the soil is warm. Handle plants gently to avoid damaging their roots.
Common Mistakes to Avoid
- Transplanting too early
- Skipping the hardening-off process
- Overcrowding seedlings in the garden
Troubleshooting Common Seed Starting Issues
Leggy Seedlings
Leggy seedlings indicate insufficient light. Move them closer to grow lights or increase light intensity.
Poor Germination Rates
Check the viability of your seeds and ensure proper moisture, temperature, and soil conditions.
Mold or Fungal Growth
Improve air circulation and avoid overwatering. If mold appears, remove it with a clean tool and adjust humidity levels.
Yellowing Leaves
Yellow leaves often signal overwatering, nutrient deficiencies, or poor drainage. Address the underlying issue promptly.
Learn as You Go
Keeping Notes on What Works
Document your successes and challenges each season. Note planting dates, germination rates, and observations about specific crops.
Adjusting Your Methods for Next Year
Evaluate your notes to refine your process and improve outcomes in future seasons.
Bonus Tips for Successful Indoor Seed Starting
Choosing the Right Seeds for Beginners
Start with easy-to-grow seeds like lettuce, basil, or marigolds. These crops are forgiving and build confidence.
Companion Plants to Plan Ahead For
Think about companion planting when planning your garden. Pairing plants like tomatoes and basil can enhance growth and flavor.
Utilizing Recycled Materials for Sustainability
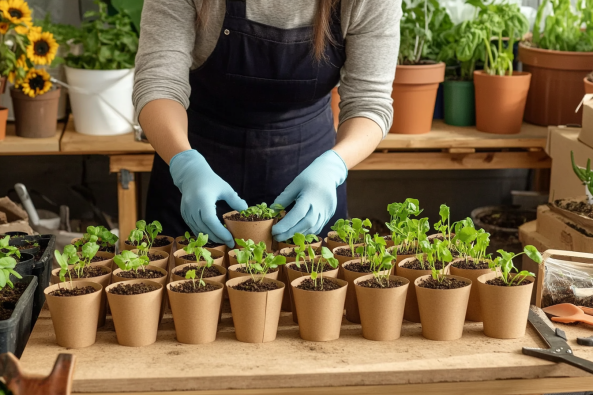
Repurpose items like yogurt cups or egg cartons as seed-starting containers to reduce waste. Learn more about sustainable seed starting techniques.
Conclusion
Starting seeds indoors is a rewarding way to jumpstart your gardening season. By following these tips, you’ll set yourself up for success with healthy, robust seedlings ready to thrive in your garden. Remember to experiment, keep detailed notes, and have patience as you learn what works best for your space and crops. For a stylish indoor gardening setup, explore IKEA greenhouse cabinet hacks. Happy gardening!

